PARTS LOCATION
ILLUSTRATION
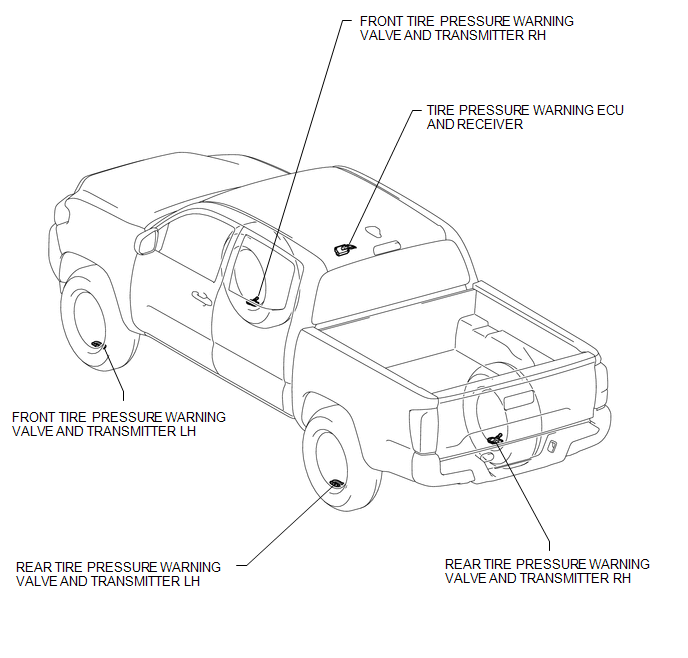
ILLUSTRATION
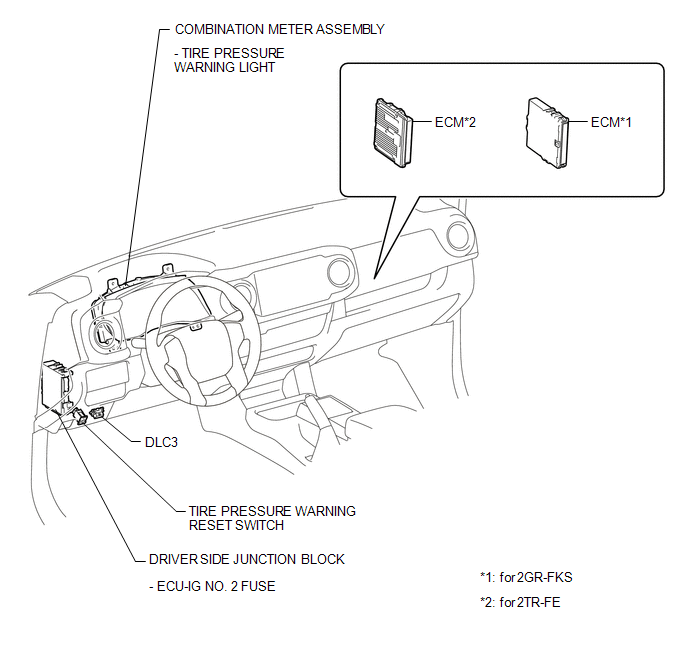
ILLUSTRATION
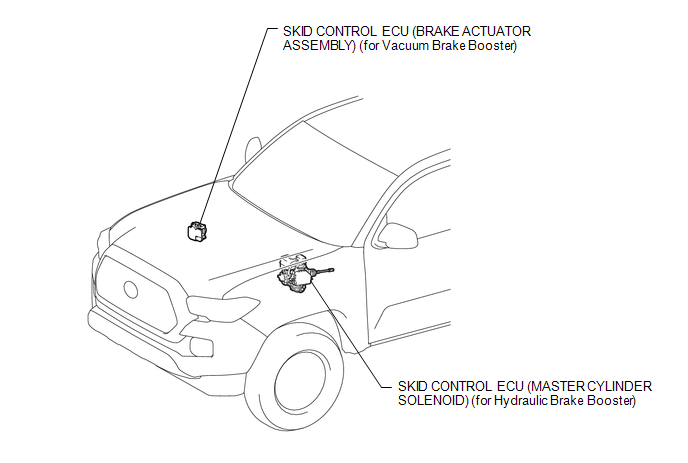
Related Tacoma materials
Open in Outer Mirror Indicator(Slave) (C1AB5)
DESCRIPTION
This DTC is stored when the blind spot monitor sensor RH detects an open in the
blind spot monitor indicator RH.
DTC Code
DTC Detection Condition
Trouble Area
C1AB5
...
Dtc Check / Clear
DTC CHECK / CLEAR
HINT:
DTCs which are stored in the ECM can be displayed on the Techstream.
The Techstream can display pending DTCs and current DTCs. Some DTCs
are not stored unless a malfunction is detected in consecutive driving cycles.
When a malfunction is detected in o ...
Adjustment
ADJUSTMENT
CAUTION / NOTICE / HINT
NOTICE:
For vehicles equipped with VSC, if the wheel alignment has been adjusted, and
if suspension or underbody components have been removed/installed or replaced, be
sure to perform the following initialization procedure in order for the system to
functi ...