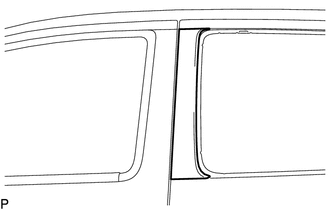
Components
COMPONENTS
ILLUSTRATION
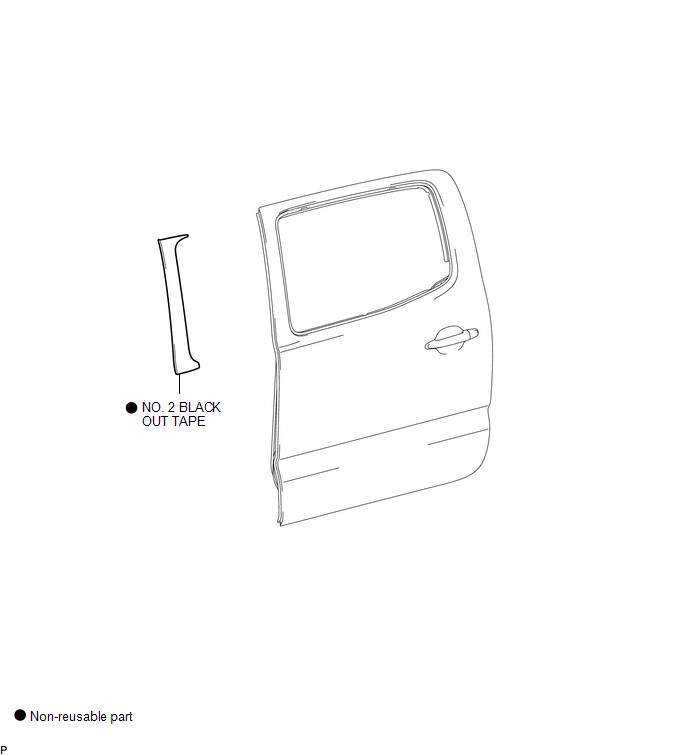
Installation
INSTALLATION
CAUTION / NOTICE / HINT
HINT:
- Use the same procedure for the RH and LH sides.
- The procedure described below is for the LH side.
PROCEDURE
1. REPAIR INSTRUCTION
.gif)
2. INSTALL NO. 2 BLACK OUT TAPE
(a) Refer to the illustration to position a new No. 2 black out tape.
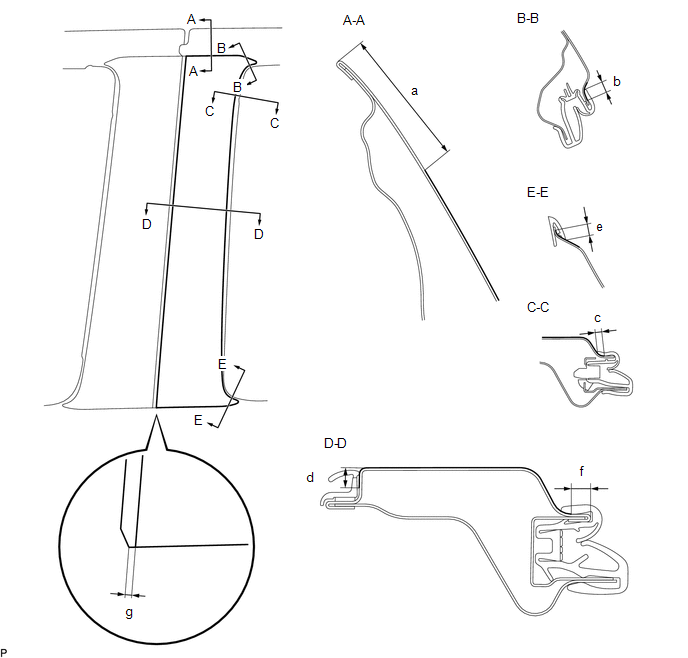 Standard Measurement
|
Dimension |
Measurement |
Dimension |
Measurement |
|---|---|---|---|
|
a |
41.8 mm (1.646 in.) |
b |
7.2 to 7.3 mm (0.283 to 0.2874 in.) |
|
c |
3.8 to 4.0 mm (0.150 to 0.157 in.) |
d |
6.0 to 6.2 mm (0.236 to 0.244 in.) 41.8 mm (** in.) |
|
e |
6.7 to 6.9 mm (0.264 to 0.272 in.) |
f |
5.7 to 5.9 mm (0.224 to 0.232 in.) |
|
g |
2.0 mm (0.0787 in.) |
- |
- |
(b) Remove the release paper and apply the No. 2 black out tape.
3. INSTALL REAR DOOR GLASS OUTER WEATHERSTRIP ASSEMBLY
(See page
)
Removal
REMOVAL
CAUTION / NOTICE / HINT
HINT:
- Use the same procedure for the RH and LH sides.
- The procedure described below is for the LH side.
PROCEDURE
1. REMOVE REAR DOOR GLASS OUTER WEATHERSTRIP ASSEMBLY
(See page .gif) )
)
2. REMOVE NO. 2 BLACK OUT TAPE
(a) Using a heat light, heat the vehicle body and No. 2 black out tape.
Heating Temperature|
Item |
Temperature |
|---|---|
|
Vehicle Body and No. 2 Black Out Tape |
40 to 60°C (104 to 140°F) |
NOTICE:
Do not heat the vehicle body or No. 2 black out tape excessively.
|
(b) Pull back on one of the ends of the No. 2 black out tape to remove it. HINT: When pulling on the No. 2 black out tape, pull it parallel to the body. |
|